Python Tkinter Game Tutorial
Tkinter Game Dev: Ninja Pixelart Character Moves and Jumps
Function and Methods Of This Codeset:
We use several methods and functions in this Ninja action tutorial. We write code for the PhotoImage, method, which is how we load our game image, our ninja pixelart character. And, we write code for the move method, which is how we move the ninja character across the game screen. Also included is the rectangle shape, used to draw our game button. And, for the ninja jump action , we create a jump function, and set the jump height we want.All code for this tutorial is at the Example Code section on this page. At Game Shot, you can see an image of the game, and link to the video.
Where To RUN Tkinter Code
In addition to running your code in Python 3.13 REPL, on your Windows computer, the code from this game dev tutorial can be RUN with Pydroid3, a mobile IDE and Python interpreter, and also ACode's built in Linux terminal(Alpine). Pydroid3 and ACode also have built in code editors you can use to write, edit, and save Python Tkinter code. These are both available to download and install on your Android phone from Google Play store.Coding Tkinter: How to Create a Game File
To write Tkinter game code on my laptop, I use Notepad, which is a free Windows code editor. On my cell phone, I use Pydroid3's built in code editor, and also, ACode's built in code editor. Any code editor is good to write your code, and save it, example, mygamecode.py, a .py file type.How To Load The Game File
There are several ways to get your code running. For laptop(any windows computer), just call the code, its' the three lines(call code) included at the Example code section with the game's code. Just change the folder names to match those on your computer, that has 'ninja-action.py'. Simply paste the lines into the REPL at the >>> prompt, tap the 'enter' button twice, and the game window populates. To rerun same code, tap up arrow on your keyboard, and tap enter again. Note: you must have clicked out(tap x) of the game window, to rerun the code this way. You can also paste the codeset(all the code) into the REPL, but this is not recommended, unless it is just a few lines, as large codesets can be problematic, especially if you get 'run code errors'.For Cell Phone with Pydroid3: 2 Ways to Run the Code, Paste the codeset into the editor(white screen), and tap the RUN icon. A game screen will populate, and run your game. Or, you can save the 'ninja-action.py' file to a folder named Pydroid3; then, use the folder icon at top of Pydroid3 editor to open that file. File loads the code into the editor(white screen), then, tap the RUN icon to run the code.
Keep Py File and Images Together
With Android cell phones, you can run, example: mygame.py file to play the game. So these file types can be opened from any folder on your phone. I created a folder named Pydroid3, to easily know where the files go.
Just remember to keep the game images in the same folder as the mygame.py py file. Open Pydroid3 app, select the folder icon at top of white screen editor, goto your files, select the py file; it loads into Pydroid3. Just tap RUN icon at bottom of screen, to RUN your game code.
Create ShortCut
To organize your py files, and games, shortcuts can be created from the game file. Any file(link) can be added and become a shortcut which gets placed on the home screen, like an app icon. You can also customize the icon.
To open the tkinter game, you simply tap on the 'shortcut' link you created on the home screen, and then Pydroid3 app opens, and loads that link, and plays the tkinter game.
Shortcut apps are free to download from Google Play Store. Shortcut Maker is a popular one, that allows you to customize the shortcut's icon.
Video Link Ninja Jumps Tutorial
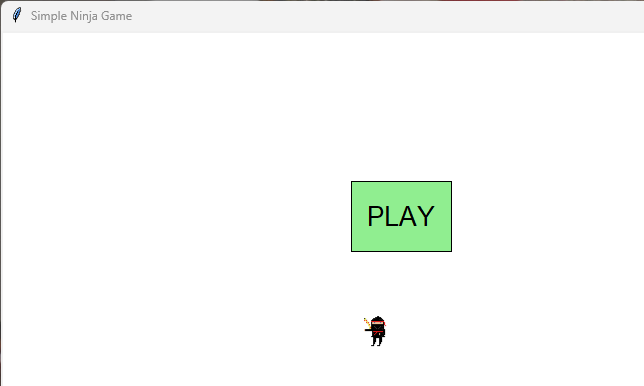
Ninja Game Shot from Laptop
Call File in Python 3.13(REPL)
To call, Paste 'Call' Code into REPL at >>>
Ninja Game Shot from Phone
Call file or Paste Code into Pydroid3's Editor
Ninja moving across the screen
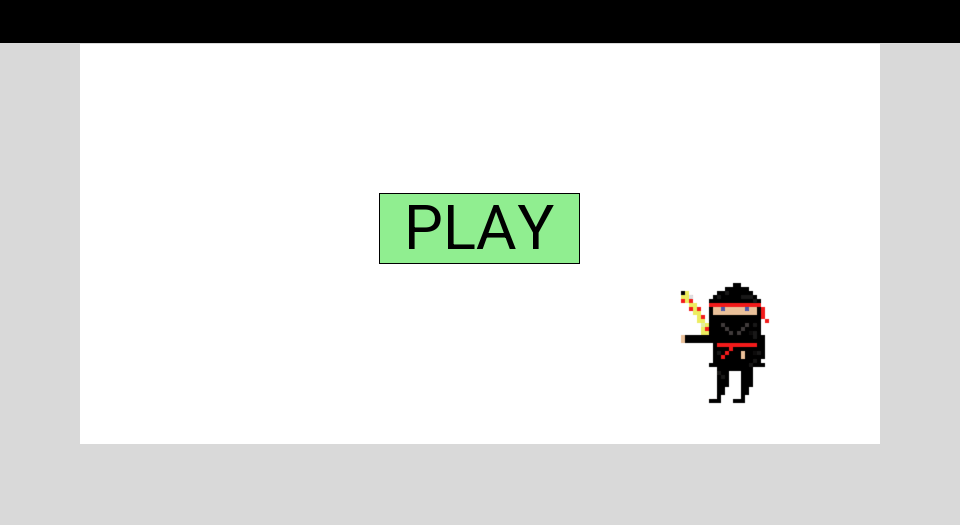
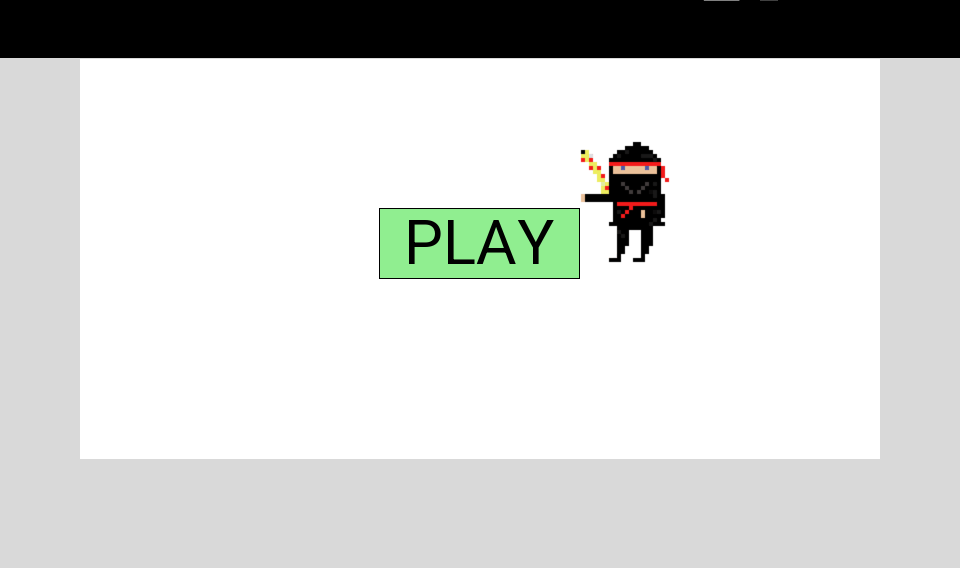
Ninja jumps when button clicked
Code For This Tutorial
The Game CharacterThis tutorial has a Ninja pixelart game character we created with Pixel Studio, an Android mobile app for creating pixelart characters, game scenery, game tiles and a variety of useful creations.
Typically, pixelart characters, are small sized and commonly known as a sprite. These sprites can be easily sized for your game. Common sizes are 32x32, 64x64, 128x128. If using a 6.3" cell phone screen, or a 14" windows laptop, sizes 128x128, and 64x64 for your smallest characters is recommended. However, you can customize your game characters and scenery as you like.
For this game scene, our ninja character is moving across the game screen as the action begins. When you click on the PLAY button, the ninja character jumps, to a height you can set in the game code. Once done its' jump, the ninja continues moving across the game screen. This is a common action we can implement into our tkinter games, and the jump action can be added to several characters, not just one.
First Code Block:
We start code by importing the tkinter module.import tkinter as tk
class NinjaGame:
def __init__(self, mygame):
self.mygame = mygame
self.mygame.title("Simple Ninja Game")
Then we create our game class, and name the class, we chose the name- 'NinjaGame'(class NinjaGame:).
Next, we create our game 'constructor', for the game, with:
(__init__),at the line, (def_init_(self,mygame)
The constructor sets up all the code functions and methods before the game starts: the window, the canvas, the ninja image, the Play button, and the movement/jump state. At same line, we also create our game 'function', and name it, we chose the name- 'mygame'.
(def_init_(self,mygame)
In this line of code, the constructor(self) has 'mygame' as its' argument.
Next, we must attach the constructor and its' argument, 'mygame', to a variable, that way, we can use the variable throughout the game code where needed.
To do that, we use this next line of code.
self.mygame = mygame
'mygame' is now our variable, we can use throughout the code where required.
You can see the constructor code, 'self' throughout the game, attaching itself to all aspects of the games creation and action. Our variable, 'mygame', is also added to code where required, including:
at the code for the
timing of the ninja move and jump action, and also,
at the code to start the game.
Next code block:
Here, we create the canvas(the game window), and set its size with width, and height values,(800,400) and set our background screen color.
Pack means to draw things onto the canvas, the game screen.
self.canvas = tk.Canvas(mygame, width=800, height=400, bg="white")
self.canvas.pack()
Next in this code block, we are loading our game image, and adding it to the canvas also. We set the image start position at 100, 300, for x and y, width and height. The ninja image size is 128x128, however, we can make this size smaller by using the subsample, a built in image reduction function of Tkinter. The (4,4), will reduce its' size by about 25%. You can also use, 3,3, 2,2. No half sizes though, so do not use numbers like; 3.5,3.5.
# Load PNG directly
self.ninja_img = tk.PhotoImage(file="ninja_128.png").subsample(4,4)
self.ninja = self.canvas.create_image(100, 300, image=self.ninja_img)
Subsample is useful if you are coding for cross platform code, like on the windows computer, and on a cell phone. This image, ninja_128.png, will render nicely on the cell phone screen of 6.3", however, on a laptop of 14", it appears too large for the game. Subsample is a quick way to reduce the image size, without having to actually resize the image, and add code for the smaller sized image. When I code on my cell phone, I omit the 'subsample' code, but on my laptop, I include it, just this
.subsample(4,4), after the ..128.png")
Next code block:
In this code, we create our button and add text to it(PLAY). The button is created using the 'rectangle', a shape in Tkinter we can draw to the game screen.
We add width and height for the button size using x,y, x,y. Width is x, height is y. The difference of the numbers for x and x, and, y and y; is the actual rectangle size that is drawn.
So, x is 350, and x is 450, the difference of those 2 numbers is 100, so our button rectangle width is 100 pixels. For height, its' y and y; so 150 minus 220, equals 70 pixels, so, that is the height of our rectangle shaped Play button. We now know our button shape is 100x,70y, width and height.
Also, in this code, we bind the button to the canvas with the 'tag_bind' method. We must bind both the shape(button), and the text we are adding to the button.
# Play button
self.play_btn = self.canvas.create_rectangle(350, 150, 450, 220, fill="lightgreen")
self.play_text = self.canvas.create_text(400, 185, text="PLAY", font=("Arial", 20))
self.canvas.tag_bind(self.play_btn, "
self.canvas.tag_bind(self.play_text, "
This code block has the code for the ninja action. The ninja moves across the game screen, and jumps when the play button is clicked. So we created two functions, one for the movement across the screen, with a function named run,
def run(self):
and one for the jump action.
def jump(self):
That function we named jump. You see our game constructor, 'self', it added to each of these functions. That is how the actions get attached to the game class, NinjaGame.
First in code:
These are movement state variables:
#checks ninja's action state
self.running = False
self.jumping = False
self.jump_frame = 0
They inform the game of what the ninja character is doing
Is ninja;
running → is the ninja currently moving sideways
jumping → is the ninja currently in the middle of a jump
jump_frame → the animation, what step is ninja at
So, we can say these 'state variables' prevent the ninja, our game character, from doing its' moves or jumps at the same time.
Next in code, our function def start_game(self, event=None);
This function gets triggered when the player selects the button to play the game.
#actions ninja to run, or jump
#or run into a jump
def start_game(self, event=None):
if not self.running:
self.running = True
self.run()
if not self.jumping:
self.jumping = True
self.jump_frame = 0
self.jump()
So, if our ninja character, isn't running, then it does start to run(move across the game screen).
And, if the ninja isn't presently jumping, it starts a new jump(when button clicked) from frame 0, which is its' start position for the jump.
Next in code; 'moving the ninja sideways', with the function
def run(self):
#ninja moves sideways
def run(self):
if not self.running:
return
#moves 2 pixels
self.canvas.move(self.ninja, 2, 0)
x, y = self.canvas.coords(self.ninja)
#if ninja goes off right side of screen(>850)
#port it back to left side of screen(-50)
if x > 850:
self.canvas.coords(self.ninja, -50, y)
#wait 30milliseconds, run game again
#after, is for Timing in tkinter
self.mygame.after(30, self.run)
Ninja moves 2 pixels at a time. When it reaches the edge, it is returned to the left side of the game screen, and then loops across the screen again. So, after it reaches 850 x, it returns, and, after 30 milliseconds, ninja action continues from left side of game screen. So, we call run() again after 30 ms → This creates a smooth animation.
This is known as the game loop, the action goes around and around in the same loop.
Next in this code, is the #the jump projectory, and the #jump equation
It uses a parabola equation to create a smooth arc:
t = self.jump_frame
jump_height = -4 * (t - 10)**2 + 160
Starts low
Rises to a peak
Falls back down
Then, this code:
It converts the parabola height into a canvas Y‑position - 300.
ground_y = 300
new_y = ground_y - jump_height
And,
self.jump_frame += 1
Each frame actions(moves) the ninja to the next point on the curve.
Finally:
At this code:
at #frame - 20
if self.jump_frame <= 20:
self.mygame.after(30, self.jump)
else:
self.jumping = False
self.canvas.coords(self.ninja, x, ground_y)
This code says:
If we haven’t yet reached frame 20 → then schedule the next jump frame.
If we have reached frame 20 → end the jump and place ninja back on the ground, frame 0.
Game Code with Comments Added
#checks ninja's action state
self.running = False
self.jumping = False
self.jump_frame = 0
#actions ninja to run,jump or both
def start_game(self, event=None):
if not self.running:
self.running = True
self.run()
if not self.jumping:
self.jumping = True
self.jump_frame = 0
self.jump()
#ninja moves sideways
def run(self):
if not self.running:
return
self.canvas.move(self.ninja, 2, 0)
x, y = self.canvas.coords(self.ninja)
if x > 850:
self.canvas.coords(self.ninja, -50, y)
self.mygame.after(30, self.run)
#the jump projectory
def jump(self):
if not self.jumping:
return
#the jump equation
t = self.jump_frame
jump_height = -4 * (t - 10)**2 + 160
ground_y = 300
new_y = ground_y - jump_height
x, _ = self.canvas.coords(self.ninja)
self.canvas.coords(self.ninja, x, new_y)
self.jump_frame += 1
#frames, at most 20
if self.jump_frame <= 20:
self.mygame.after(30, self.jump)
else:
self.jumping = False
self.canvas.coords(self.ninja, x, ground_y)
This code makes the ninja run smoothly and continuously across the game screen and, perform a smooth parabolic jump with a frame‑by‑frame animation loop.
Code Call
To RUN our code in the REPL at the prompt: >>> we must tell the REPL where the file is. At the Example Code section, you can copy the game code, and the 'code call' is included.Naming the Game File
For this tutorial, our file is named: ninja-action.py. At your designated gamedev folder on your computer or laptop, just create a new folder named 'ninja', and add the 'ninja-action.py', file, and the game image. Save the image from the Example code section for this tutorial.Next, edit the 'code call' code. Replace folder names' location with their location on your computer. Now your call code is ready to paste into the REPL at the prompt: >>>
Tap enter twice once you pasted it.
Summary
In this tutorial, we learned how to implement ninja action with functions we created. We moved our ninja game character across the game screen, and when the PLAY game button is clicked, the ninja character jumps in the air, at a pre-determined height.We can adjust the jump height by changing the numbers in the code. We can also change the speed of the jump, and the projectory of the jump. For this codeset, we used parabolic math, to code our ninja's movements on the game screen. This can also be done with gravity, and velocity.
EXAMPLE CODE - Code For This Tutorial.
JUST copy and paste this code.
JUST copy and paste this code.